Smart image resizing with Azure Functions and Cognitive Services
Friday, 06 May 2016
Learn how to use the smart image re-sizing feature of the Cognitive Services Computer Vision API inside an Azure Function
#azure-functions#cognitive-services#computer-vision
This article was published at GitHub. It is open source and you can make edits, comments etc.
A few days ago I blogged about Generating thumbnails with the Cognitive Services Computer Vision API. The article talked about how we can use the Computer Vision API to do smart image resizing in C# and JavaScript.
Today I'm going to progress this idea with Azure Functions. We'll explore how to automatically create thumbnail images using the Computer Vision API whenever a new image is uploaded to an Azure Storage account. If you have not already seen my other article on the Computer Vision API, I suggest you take a look at that first.
Using Azure Storage for static web content storage makes sense in lots of ways; it is very cheap, very fast and very easy to work with using the Cloud Explorer tool (Part of the Azure SDK). However in this context, Azure Storage gives us an extra benefit of built-in hooks into Azure Functions.
Azure Functions are one of the newest features in the Azure world (announced at Build 2016) and they are simply a way to execute code in the cloud. They can be triggered on a timer schedule or in response to a web hook, http request, push notification or one of many other types of 'bindings'. If you have ever used Azure Web Jobs, Functions is like web jobs extra.
The third piece of technology in the mix here is the Microsoft Cognitive Services Computer Vision API. Computer Vision does lots of amazing things with digital images, but one of the simpler features is the ability to generate thumbnails. I discussed this in more detail here.
Get Setup
I encourage you to follow along with this sample to get to grips with Functions in a useful way. We are going to buidl a solution that generates smart thumbnails from images uploaded to Azure Storage.
We'll use these three technologies to build a smart thumbnail solution. There are a few things you'll need setup if you want to follow along, they are:
- An Azure Subscription. Get a trial here
- A key for the Computer Vision API. See this article for details on how to get that
- Any version of Visual Studio 2015 (the Community Edition is free by the way)
- Azure SDK for Visual Studio 2015
- Some images to play with
Create an Azure Function App
Functions are very easy to get started with. You simply go to the Azure Portal and go to New > Web + Mobile > Function App.
You'll be asked about resource groups, app service plans etc. You'll also be asked to create or select a Storage Account, this is important because your Function App needs somewhere to put logging information, but having a storage account is especially useful for our solution because we need somewhere to upload images and thumbnails. When you are finished, you'll be presented with the Function App configuration screen (if you cannot find it, just look in your 'web apps' section).
Function Apps are a collection of Functions and the Functions themselves are built from templates that represent that various triggers and bindings available. The home screen offers you a wizard-style experience based 'pre-made' functions, however I find it easier to look at the full list of Function templates. You can see this by clicking New Function.
You'll see a list of the following templates in both C# and Node (JavaScript):
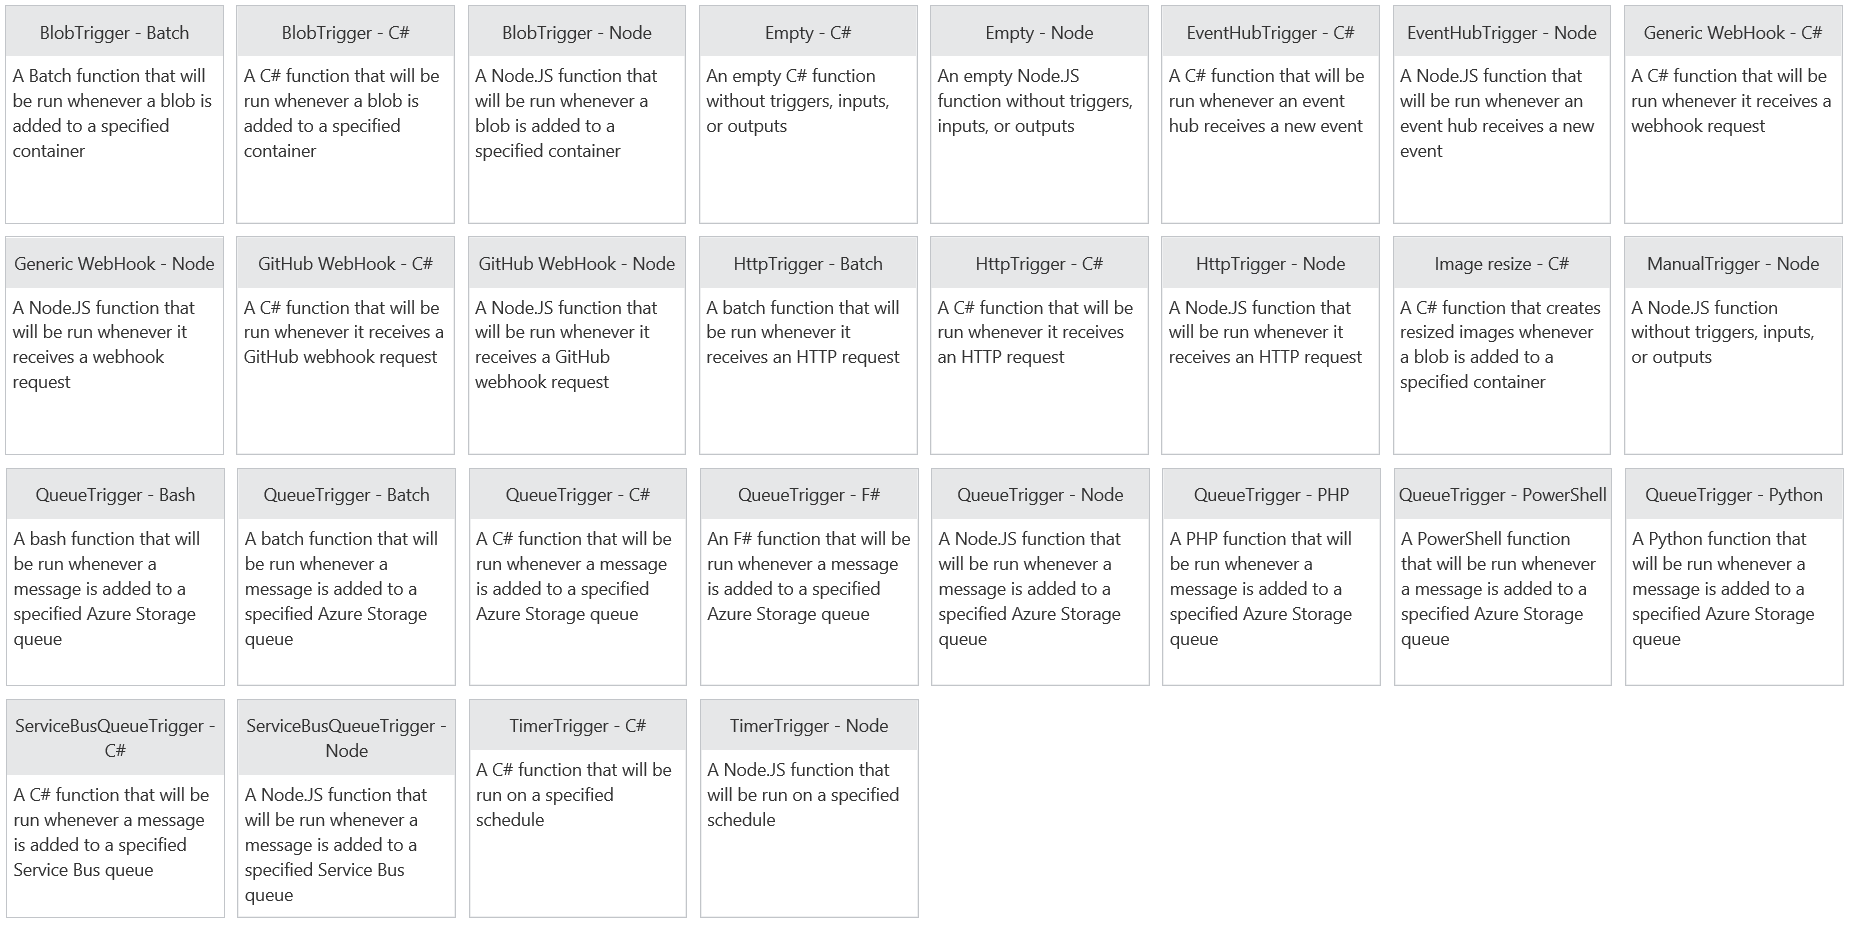
To follow along with the smart image re-size scenario in this article, choose BlobTrigger - C# and use these settings:
- Name: Leave as default
- Path:
originals/{name}. This corresponds to a Blob container called 'originals' (we'll create this later) and the{name}parameter is used to identify the file name of the incoming blob - Storage Account Connection: Use the
+ newbutton to choose the storage account you create at the start.
When the function is created, avoid the temptation to start coding. We need to do some configuration in our Storage account first.
Create your Blob Containers in Azure Storage
When you created your Function App, you will have created an Azure Storage account as part of the process. We need to add two Blob Containers to this account for our example to work. Blob Containers are like top-level folders within the storage account.
You can find the storage account under the Browse > Storage Accounts menu in the portal. Once you are in the Storage Account, click Blobs under the services section and add two containers named originals and thumbs.
Define the Integration points
Now that the Storage Account is configured, we can tell the Azure Function how to use it. Go to your Function App (under Browse > Web Apps) and load the BlobTriggerCSharp1 function we created earlier.
Go to the Integrate tab.
The Trigger should already have the right settings because you set this when you created the Function. But just double check that the Path is set to originals/{name}.
You need to define an Output which is where the generated thumbnail gets placed. Click New Output and use these settings:
- Choose the
Azure Storage Blobtemplate - Name: Leave the default of
outputBlob - Path: Set to
thumbs/{name} - Storage Account Connection: Use the
+ newbutton to choose the storage account you create at the start. - Save
Implement the CSP (C# script)
You can now implement the code for your function. Go to your Function App (under Browse > Web Apps) and load the BlobTriggerCSharp1 function we created earlier.
Go to the Develop tab.
Paste this code into the Code section, replacing YOURKEYHERE with your Cognitive Services Computer Vision API ke. Overwrite all existing code).
using System;
using System.Text;
using System.Net.Http;
using System.Net.Http.Headers;

public static void Run(Stream myBlob, Stream outputBlob, TraceWriter log)
{
    int width = 320;
    int height = 320;
    bool smartCropping = true;
    string _apiKey = "YOURKEYHERE";
    string _apiUrlBase = "https://api.projectoxford.ai/vision/v1.0/generateThumbnail";

    using (var httpClient = new HttpClient())
    {
        httpClient.BaseAddress = new Uri(_apiUrlBase);
        httpClient.DefaultRequestHeaders.Add("Ocp-Apim-Subscription-Key", _apiKey);
        using (HttpContent content = new StreamContent(myBlob))
        {
            //get response
            content.Headers.ContentType = new MediaTypeWithQualityHeaderValue("application/octet-stream");
            var uri = $"{_apiUrlBase}?width={width}&height={height}&smartCropping={smartCropping.ToString()}";
            var response = httpClient.PostAsync(uri, content).Result;
            var responseBytes = response.Content.ReadAsByteArrayAsync().Result;

            //write to output thumb
            outputBlob.Write(responseBytes, 0, responseBytes.Length);
        }
    }
}
Now click Save and check that the log says "compilation succeeded".
Try it out
You can now try the process out by uploading a file to your Originals blob container.
The easiest way to do this is via the Cloud Explorer tool which is part of the Azure SDK in Visual Studio 2015.
As you upload your files, watch the log in the Azure portal, you'll see it log the function start and end. Once it has completed, you should see your smartly resized file in the 'Thumbs' Blob Container.
In Summary
Azure Functions is a great way to have code hosted in the cloud and execute in response to a wide range of events, schedules and other triggers. When combined with Cognitive Services, you can easily create some very compelling scenarios which can help automate business processes in a smart, easy, quick way.
Got a comment?
All my articles are written and managed as Markdown files on GitHub.
Please add an issue or submit a pull request if something is not right on this article or you have a comment.
If you'd like to simply say "thanks", then please send me a .